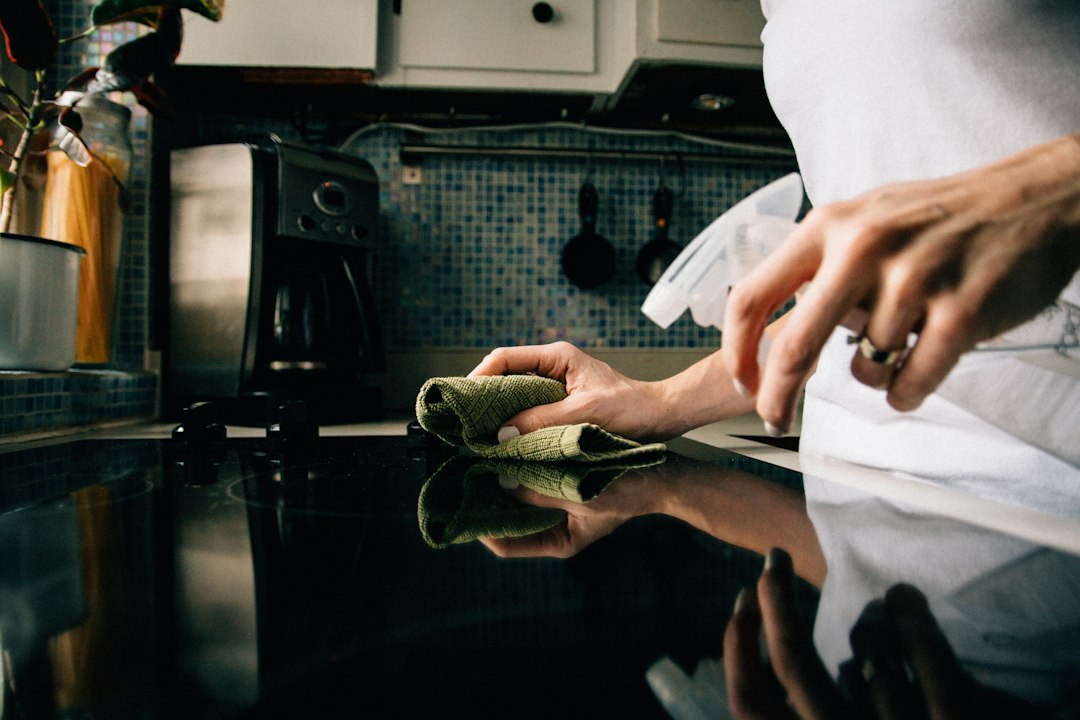
The quest for a sparkling clean home often leads us down the aisle of chemical-laden products, promising gleaming surfaces and sanitized spaces. However, a growing movement is rediscovering the power of nature's own cleaners – simple, effective, and readily available ingredients that not only clean but also contribute to a healthier home environment and a lighter ecological footprint. This comprehensive guide will equip you with a robust daily workflow and an arsenal of natural home cleaning hacks, focusing particularly on the battleground of the kitchen, ensuring your space is not just clean, but truly pristine, using DIY methods that are both powerful and gentle.
Why Go Natural? The Unseen Benefits of Eco-Friendly Cleaning
Before diving into the "how-to," it's crucial to understand the profound "why." Shifting to natural cleaning isn't just a trend; it's a conscious choice with multi-faceted benefits that impact your health, your wallet, and the planet.
Health & Safety First: Avoiding Harsh Chemicals
Commercial cleaning products often contain volatile organic compounds (VOCs), phthalates, ammonia, chlorine bleach, and other harsh chemicals that can irritate eyes, skin, and respiratory systems. Prolonged exposure has been linked to allergies, asthma, and even more serious health concerns. By opting for natural alternatives like vinegar, baking soda, and lemon, you drastically reduce your exposure to these toxins, creating a safer environment for children, pets, and everyone living in your home. Imagine cleaning your kitchen counters without worrying about residual chemicals contaminating your food preparation surfaces – that's the peace of mind natural cleaning offers.
Environmental Stewardship: A Greener Home, A Greener Planet
Every time you pour a chemical cleaner down the drain, it eventually makes its way into our waterways, impacting aquatic life and ecosystems. The manufacturing and transportation of these products also contribute to carbon emissions. Natural cleaning, conversely, uses biodegradable ingredients that break down harmlessly. By refilling reusable spray bottles and opting for bulk ingredients, you also reduce plastic waste, making a tangible difference in your contribution to a healthier planet.
Cost-Effectiveness: DIY Savings That Add Up
One of the most immediate and tangible benefits is the cost savings. A gallon of white vinegar, a box of baking soda, and a few lemons are incredibly inexpensive compared to an array of specialized commercial cleaners. These staple ingredients can tackle virtually every cleaning challenge in your home, from degreasing stovetops to deodorizing drains, eliminating the need for separate products for every surface and stain. Over time, these savings become substantial, allowing you to allocate your budget to other priorities.
Essential Natural Cleaning Arsenal: Your DIY Toolkit
To embark on your natural cleaning journey, you don't need exotic ingredients. Your primary arsenal consists of common household items, often already lurking in your pantry.
The Power Players: Vinegar, Baking Soda, Lemon, & More
- White Distilled Vinegar: An acidic powerhouse that cuts through grease, dissolves mineral deposits (hard water stains), deodorizes, and acts as a mild disinfectant. Its acidity makes it excellent for glass, chrome, and non-porous surfaces.
- Baking Soda (Sodium Bicarbonate): A mild abrasive, deodorizer, and alkaline compound that neutralizes acids. It's fantastic for scrubbing, absorbing odors, and gently lifting stains without scratching.
- Lemon Juice: Contains citric acid, a natural bleach and deodorizer. It's great for polishing metals, removing rust stains, and adding a fresh scent.
- Hydrogen Peroxide (3%): A natural disinfectant and mild bleach. Excellent for sanitizing cutting boards, whitening grout, and tackling mold.
- Borax (Sodium Borate): A mineral salt that boosts cleaning power, acts as a laundry booster, and helps with mildew. Use with caution and wear gloves.
- Castile Soap (Liquid or Bar): A concentrated vegetable-based soap that can be diluted for an all-purpose cleaner, dish soap, or even hand soap.
- Essential Oils (Optional): Tea tree oil (antimicrobial), lavender (calming, antibacterial), lemon (degreasing, uplifting), eucalyptus (disinfecting, refreshing) can be added for scent and enhanced cleaning properties.
Must-Have Tools: Microfiber, Spray Bottles, Scrub Brushes
Beyond the ingredients, having the right tools makes all the difference:
- Reusable Spray Bottles: Essential for mixing and storing your DIY solutions. Label them clearly!
- Microfiber Cloths: Super absorbent, lint-free, and excellent for wiping, polishing, and dusting. They trap dirt effectively.
- Scrub Brushes & Sponges: For tackling tougher grime and stains. Natural bristle brushes or cellulose sponges are good choices.
- Old Toothbrushes: Perfect for reaching tight spots and grout lines.
- Rubber Gloves: To protect your hands, especially when dealing with hot water or abrasive scrubbing.
Here's a quick comparison of natural vs. commercial cleaners to underscore their differences:
| Feature | Natural Cleaners (DIY) | Commercial Cleaners |
|---|---|---|
| Primary Ingredients | Vinegar, baking soda, lemon, castile soap, water | Ammonia, chlorine bleach, synthetic fragrances, surfactants |
| Health Impact | Non-toxic, hypoallergenic, safe for pets/children | Potential irritants, respiratory issues, chemical burns |
| Environmental Impact | Biodegradable, less plastic waste, lower carbon footprint | Non-biodegradable, water pollution, significant plastic waste |
| Cost | Very low (pennies per use) | Moderate to high (specialized products add up) |
| Effectiveness | Highly effective for most common messes, requires elbow grease | Powerful, often quick, but can be harsh |
| Scent | Mild, natural (lemon, essential oils), neutralizes odors | Strong synthetic fragrances, can mask odors |
| Versatility | Multi-purpose, one ingredient for many tasks | Often single-purpose, requires multiple products |
Natural Kitchen Stain Removal DIY: Tackling Common Culprits
The kitchen is a hub of activity and, consequently, a hotspot for stains. Here's how to tackle the most common ones naturally.
Grease & Grime: The Baking Soda & Vinegar Power Duo
- Stovetops & Backsplashes: Sprinkle baking soda liberally over greasy areas. Let it sit for 5-10 minutes. Spray with white vinegar (it will fizz!). Let it sit for another 5 minutes, then scrub with a damp sponge or cloth. The baking soda absorbs the grease, and the vinegar helps lift it. Rinse with clean water.
- Oven Cleaning: For heavily soiled ovens, mix ½ cup baking soda with 2-3 tablespoons of water to form a thick paste. Spread it all over the inside surfaces of your oven, avoiding heating elements. Let it sit overnight (12+ hours). Scrape off the dried paste with a plastic scraper. Wipe clean with a damp cloth, then spray with vinegar and wipe again to remove any residue.
Coffee & Tea Stains: Lemon & Salt to the Rescue
- Mugs & Countertops: For stubborn coffee or tea rings in mugs, rub half a lemon dipped in salt around the stained area. The salt acts as a gentle abrasive, and the lemon's citric acid bleaches the stain away. For countertops, sprinkle salt on the stain, then squeeze lemon juice over it. Let it sit for 15-30 minutes before scrubbing and wiping clean.
- Cutting Boards: Sprinkle coarse salt over a wooden cutting board. Use half a lemon to scrub the salt into the board, paying extra attention to any stains. The lemon juice helps to bleach and disinfect, while the salt scours. Rinse thoroughly.
Burnt-On Food: The Peroxide & Baking Soda Paste Method
- Pots & Pans: For pots with burnt-on food, sprinkle a generous layer of baking soda over the bottom. Add enough hydrogen peroxide (3%) to create a paste. Let it sit for at least 30 minutes, or even a few hours for really tough burns. The peroxide helps lift the burnt bits, and the baking soda provides the scrubbing power. Scrub with a non-scratch scour pad, then wash as usual. This method is incredibly effective and avoids harsh scraping.
Hard Water Spots: Vinegar's Acidic Might
- Faucets & Sinks: Soak a paper towel or cloth in undiluted white vinegar and wrap it around faucets or lay it over hard water spots in the sink. Let it sit for 30-60 minutes (or longer for severe buildup). The vinegar's acidity dissolves mineral deposits. Remove the cloth, then scrub with an old toothbrush or sponge and rinse. Polish with a dry microfiber cloth for a streak-free shine.
- Dishwasher: To descale your dishwasher, place a bowl filled with 2 cups of white vinegar on the top rack (empty the dishwasher first). Run a hot water cycle. The vinegar will clean away mineral buildup, deodorize, and leave your dishwasher sparkling.
Natural Home Cleaning Hacks Beyond the Kitchen
While the kitchen is a prime target, natural cleaning extends throughout your entire home, offering fresh and chemical-free solutions for every room.
Bathroom Brilliance: Shower Scum, Toilet Stains, & Grout
- Shower Scum: Mix equal parts white vinegar and water in a spray bottle. Spray generously on shower walls, doors, and fixtures. Let it sit for 15-30 minutes, then wipe down with a microfiber cloth or scrub with a brush. For extra tough soap scum, add a tablespoon of liquid castile soap to the mixture.
- Toilet Bowl Cleaner: Sprinkle ½ cup of baking soda into the toilet bowl, letting it sit for 15-30 minutes. Pour in ½ cup of white vinegar (it will fizz!). Let it sit for another 15 minutes, then scrub with a toilet brush and flush. For hard water rings, a pumice stone can be gently used below the waterline.
- Grout Cleaner: Create a paste with baking soda and a little hydrogen peroxide. Apply it to grout lines, let it sit for 10-15 minutes, then scrub with an old toothbrush. Rinse thoroughly with water.
Living Room Refresh: Dusting, Polishing, & Odor Elimination
- All-Purpose Dusting Spray: Mix 1 cup water, ¼ cup white vinegar, 2 teaspoons olive oil, and 10-15 drops of lemon essential oil in a spray bottle. Shake well before each use. Spray onto a microfiber cloth and wipe down furniture, shelves, and surfaces. The olive oil helps condition wood, and the vinegar cleans without leaving residue.
- Carpet Deodorizer: Sprinkle a generous amount of baking soda over carpets and rugs. Let it sit for at least 15-30 minutes (or several hours for strong odors). The baking soda absorbs odors. Vacuum thoroughly. Add a few drops of your favorite essential oil (like lavender or eucalyptus) to the baking soda before sprinkling for an added scent boost.
- Window & Mirror Cleaner: Mix equal parts white vinegar and distilled water in a spray bottle. Spray onto glass surfaces and wipe clean with a clean microfiber cloth or crumpled newspaper for a streak-free shine.
Laundry Room Love: Stain Pre-Treatments & Fabric Softeners
- Stain Pre-Treatments: For most stains (food, grass, dirt), make a paste of baking soda and a little water. Apply directly to the stain, let it sit for 15-30 minutes, then wash as usual. For oil-based stains, sprinkle cornstarch or baking soda to absorb the grease before treating.
- Natural Fabric Softener: Add ½ cup of white vinegar to the fabric softener dispenser of your washing machine during the rinse cycle. It helps remove detergent residue, softens fabrics, and eliminates static cling without any harsh chemicals or artificial fragrances. Don't worry, the vinegar smell dissipates completely once dry.
Your Daily Workflow Template: A Step-by-Step Natural Cleaning Routine
Consistency is key to maintaining a naturally clean home. This daily workflow template focuses on quick, targeted actions that prevent buildup and keep your living spaces fresh and inviting.
Morning Refresh: Quick Wipes & Spot Checks (5-10 minutes)
- Kitchen Counters: After breakfast, quickly wipe down kitchen counters and stovetop with a diluted vinegar solution (1:1 vinegar to water) or a few drops of castile soap in water. This prevents food particles and spills from drying and becoming stubborn stains.
- Bathroom Sink & Mirror: Give the bathroom sink a quick wipe-down and polish the mirror with your vinegar-water solution. This tackles toothpaste splatters and water spots before they set.
- Bedroom Tidy: Make the bed, put away clothes, and open windows for a few minutes to air out the room.
Post-Meal Clean-up: Kitchen Focus (10-15 minutes after each meal)
- Dishes: Wash dishes immediately or load the dishwasher. Scrape food residue into the compost/trash.
- Sink: Rinse the sink thoroughly. For any lingering food particles or smells, sprinkle baking soda, scrub lightly, and rinse.
- Stovetop & Microwave: Wipe down any splatters or spills on the stovetop and inside the microwave with your all-purpose kitchen cleaner (vinegar/castile soap solution). Address grease splatters with baking soda and vinegar as detailed above.
- Floor Spot Clean: Quickly wipe up any spills on the kitchen floor with a damp cloth.
Evening Tidy: Resetting for Tomorrow (15-20 minutes)
- Clear Clutter: Put away items in the living room, bedrooms, and kitchen. A tidy space feels cleaner, even if it hasn't been deep cleaned.
- Floor Sweep/Vacuum (High Traffic Areas): Quickly sweep or vacuum high-traffic areas like the kitchen, entryway, and living room.
- Trash Empty: Empty kitchen trash and recycling bins.
- Overnight Soaks (as needed): If you have a particularly stubborn stain in a pot or on a surface, apply a baking soda/peroxide paste or a vinegar-soaked cloth to work overnight.
- Deodorize: Sprinkle baking soda in trash cans, pet areas, or even shoes to absorb odors overnight.
Weekly Deep Dive: When to Tackle Bigger Tasks
While the daily workflow keeps things manageable, a weekly deep dive is still essential. This is when you tackle:
- Floors: Mop all hard floors (using a vinegar-water solution or castile soap diluted in water).
- Bathrooms: Thoroughly clean toilets, showers, tubs, and floors.
- Dusting: Dust all surfaces, including blinds and light fixtures.
- Linens: Wash bedding and towels.
- Appliances: Wipe down the exterior of appliances, clean the inside of the microwave, and descale the coffee maker (with vinegar).
By integrating these natural cleaning hacks into a consistent daily workflow, you'll find that your home stays cleaner with less effort, fewer chemicals, and a greater sense of well-being.
Advanced Tips & Troubleshooting for Natural Cleaners
Even with the best intentions, a few advanced tips can enhance your natural cleaning game and address potential pitfalls.
Essential Oil Integration: Scent & Disinfection
While many natural cleaners are effective on their own, essential oils can boost their power and leave a pleasant aroma.
- Antimicrobial Boost: Add 10-15 drops of tea tree oil or eucalyptus oil to your all-purpose cleaner for enhanced germ-fighting properties.
- Fresh Scent: Lemon, orange, or peppermint essential oils can replace artificial fragrances, leaving a truly fresh smell.
- Calming Effect: Lavender essential oil in your bedroom linen spray or dusting solution can promote relaxation.
Remember, essential oils are potent; a little goes a long way. Always store them in dark glass bottles away from direct sunlight.
Patch Testing: Always Be Safe
Before applying any DIY cleaning solution to a large or conspicuous area, especially on delicate surfaces like natural stone (marble, granite), unsealed wood, or antique furniture, always perform a patch test in an inconspicuous spot. Vinegar's acidity can etch some surfaces, and certain essential oils might leave residue or interact unexpectedly. This simple step can prevent damage and save you headaches.
Storage & Shelf Life of DIY Solutions
Natural doesn't mean eternal. DIY cleaning solutions generally have a shorter shelf life than their commercial counterparts due to the absence of harsh preservatives.
- Vinegar & Water Solutions: Typically last 1-2 weeks. If they become cloudy or develop an off-smell, discard and make a fresh batch.
- Solutions with Castile Soap: Can spoil more quickly, often within a week, as soap can provide a breeding ground for bacteria. Make these in smaller batches.
- Solutions with Essential Oils: Store in dark glass bottles to protect the oils from degradation by light.
Always label your bottles clearly with the contents and date of preparation. Store them in a cool, dark place, just as you would with food products.
In conclusion, embracing natural home cleaning hacks and integrating them into a daily workflow is a transformative journey. It’s a commitment to a healthier lifestyle, a more sustainable existence, and a home that truly sparkles from the inside out, free from the unseen burdens of chemical residues. With a few simple ingredients and a consistent routine, you can achieve a level of cleanliness and freshness that commercial products simply cannot match, all while saving money and protecting our planet.