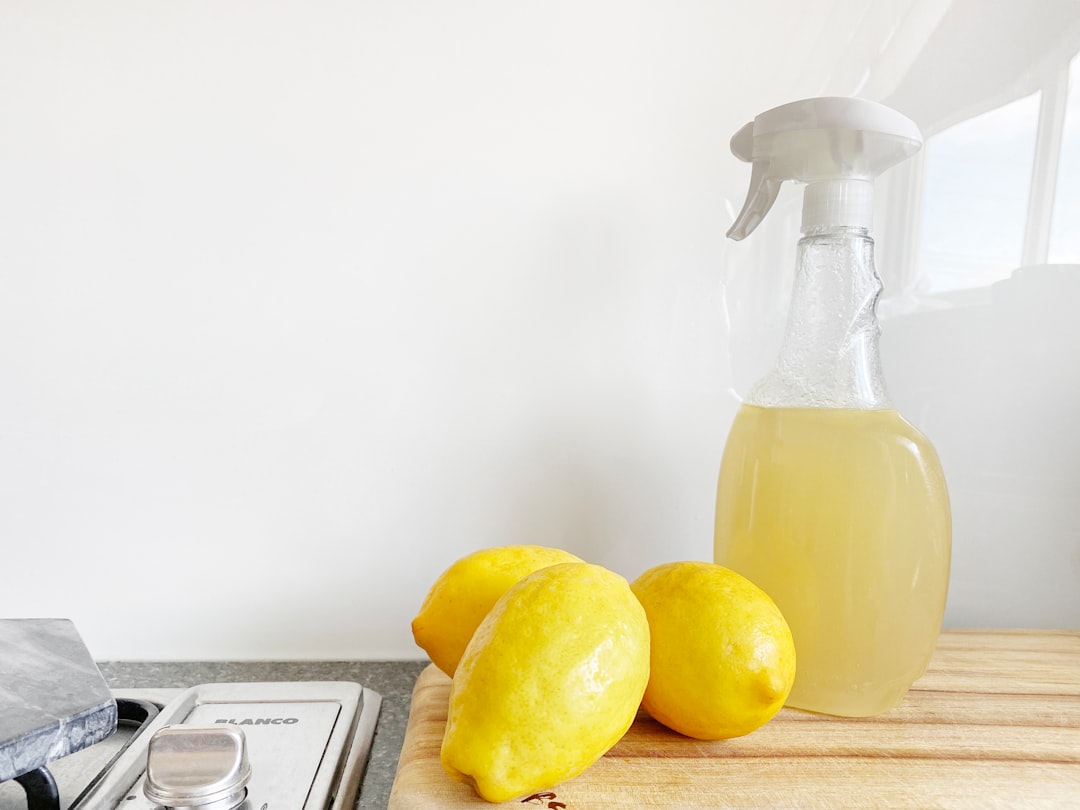
The Allure of Natural Home Cleaning and Kitchen Stain Removal
In an era where awareness of environmental impact and personal well-being is paramount, the appeal of natural home cleaning and DIY kitchen stain removal has never been stronger. Moving away from harsh chemical cleaners not only benefits our planet but also contributes to a healthier living environment, free from potentially irritating fumes and residues. The kitchen, often the heart of the home, is also a prime location for spills and stubborn stains. Fortunately, a wealth of natural ingredients can be transformed into powerful cleaning agents, offering effective solutions without the need for specialized, store-bought products. However, as with any DIY endeavor, understanding the "how" is only half the battle; the "how safely" is equally, if not more, critical. This comprehensive guide will delve into effective natural cleaning hacks and kitchen stain removal techniques, with a strong emphasis on the indispensable safety precautions required for troubleshooting and risk mitigation.
Harnessing Nature's Cleaning Arsenal: Essential Ingredients and Their Power
The beauty of natural cleaning lies in its simplicity and accessibility. Many of the most effective cleaning agents are already present in your pantry or refrigerator. Understanding their properties allows for targeted and efficient cleaning.
#### Vinegar: The Acidic All-Rounder
White distilled vinegar is a powerhouse due to its acetic acid content. It's an excellent disinfectant, deodorizer, and degreaser. Its acidic nature helps break down mineral deposits, soap scum, and grime.
- Uses:
- All-purpose cleaner: Dilute 1:1 with water in a spray bottle for countertops, sinks, and appliance exteriors.
- Glass cleaner: A 1:1 solution works wonders for streak-free windows and mirrors.
- Descaling: Soak coffee makers or kettles in a vinegar-water solution to remove mineral buildup.
- Deodorizing: Place a bowl of vinegar in a room to absorb odors.
#### Baking Soda: The Gentle Abrasive and Deodorizer
Sodium bicarbonate, or baking soda, is a mild alkali and a fantastic natural abrasive. It's perfect for scrubbing without scratching and excels at neutralizing odors.
- Uses:
- Scrubbing paste: Mix with water to form a paste for cleaning sinks, tubs, and stovetops.
- Odor absorber: Leave an open box in the fridge or sprinkle in trash cans.
- Carpet cleaner: Sprinkle on carpets, let sit for 15-30 minutes, then vacuum to refresh and remove odors.
- Drain cleaner: Pour 1/2 cup down a drain followed by 1/2 cup of vinegar; let it fizz for 15 minutes before rinsing with hot water.
#### Lemon: The Citrusy Degreaser and Brightener
Lemon juice's citric acid provides natural bleaching, degreasing, and antibacterial properties. Its fresh scent is also a pleasant bonus.
- Uses:
- Grease cutting: Apply directly to greasy surfaces or add to dishwater.
- Stain removal: Rubbing lemon juice on cutting boards can help remove stains and disinfect.
- Brightening: Use to polish and brighten metal fixtures.
- Wood polish: Mix lemon juice with olive oil for a natural wood polish.
#### Other Natural Allies:
- Hydrogen Peroxide (3%): A mild antiseptic and bleaching agent, effective for disinfecting and tackling mold and mildew.
- Essential Oils (Tea Tree, Lavender, Lemon, Eucalyptus): Add a few drops to DIY cleaners for antimicrobial properties and pleasant scents.
Mastering Kitchen Stain Removal: Targeted DIY Solutions
The kitchen is a battleground for stains, from splattered sauces to coffee rings. Here are effective DIY solutions for common kitchen culprits:
Tackling Grease and Grime
Grease splatters on stovetops, backsplashes, and cabinet doors are a persistent problem.
- Vinegar Spray: A 1:1 water-vinegar solution is your first line of defense. Spray liberally, let it sit for a few minutes to penetrate the grease, then wipe clean with a damp cloth.
- Baking Soda Paste: For tougher, baked-on grease, a paste of baking soda and water can be applied. Let it sit for 15-30 minutes, then gently scrub with a non-abrasive sponge or cloth.
- Lemon Juice: For greasy hands or small appliance exteriors, the degreasing power of lemon juice can be very effective.
Erasing Coffee, Tea, and Wine Stains
These common beverage stains can be stubborn, especially on porous surfaces like countertops or fabric.
- Baking Soda Paste: For coffee and tea stains on mugs or countertops, a baking soda paste is excellent. Apply, let it sit, then gently scrub.
- Vinegar Soak: For stubborn rings in mugs or glasses, a short soak in a vinegar-water solution can help.
- Salt and Lemon: For wine stains on fabric (act fast!), blot up as much as possible, then cover the stain with salt. The salt will absorb the remaining liquid. Then, gently rub with a lemon wedge and rinse.
- Hydrogen Peroxide: For stubborn stains on non-porous surfaces, a diluted hydrogen peroxide solution can be applied with a cloth. Test in an inconspicuous area first.
Removing Burn Marks and Scorch Marks
Accidental burns on pots, pans, or stovetops require a bit more effort.
- Baking Soda and Water: For minor scorch marks on pots and pans, fill the pot with water, add a few tablespoons of baking soda, and simmer for 10-15 minutes. The residue should lift more easily.
- Cream of Tartar: For stubborn burn marks on stainless steel, a paste made from cream of tartar and water can be effective. Apply, let sit, then scrub gently.
- Commercial Natural Cleaners: For very tough, ingrained burn marks, a commercially available natural cleaner formulated for burnt-on food might be necessary.
Dealing with Water Stains and Mineral Deposits
Hard water can leave unsightly rings and deposits on faucets, sinks, and showerheads.
- Vinegar Soak: This is the champion for mineral deposits. Wrap a cloth soaked in vinegar around faucets or showerheads, or soak removable parts in vinegar. Let sit for at least 30 minutes, then scrub and rinse.
- Lemon Juice: For lighter water spots, lemon juice can also help dissolve mineral buildup.
Safety Precautions and Risk Mitigation: The Non-Negotiable Aspect of DIY Cleaning
While natural cleaning is generally safer than using conventional chemicals, it's crucial to understand that "natural" does not automatically equate to "harmless." Certain ingredients, when mixed or used improperly, can pose risks. Prioritizing safety is paramount.
Understanding Ingredient Interactions: What NOT to Mix
This is the most critical safety aspect of DIY cleaning. Some common household ingredients can create dangerous chemical reactions when combined.
- Vinegar and Hydrogen Peroxide: NEVER mix these. Combining them creates peracetic acid, a corrosive substance that can irritate your eyes, skin, and respiratory system. If you need both properties, use them separately and rinse surfaces thoroughly between applications.
- Vinegar and Bleach: ABSOLUTELY DO NOT MIX. This combination produces chlorine gas, which is highly toxic and can cause severe respiratory damage or even death.
- Baking Soda and Vinegar (Directly in a sealed container): While the fizzing reaction is useful for cleaning drains, never mix them in a sealed container. The rapid release of carbon dioxide gas can cause the container to explode. Mix them in an open bowl or directly where you intend to use them.
Ventilation and Personal Protective Equipment (PPE)
Even natural cleaners can produce fumes that can be irritating, especially in poorly ventilated areas.
- Ensure Good Ventilation: Always open windows and doors when cleaning, especially when using vinegar or essential oils. Use exhaust fans in kitchens and bathrooms.
- Wear Gloves: Protect your skin from prolonged contact with cleaning solutions, especially acidic ones like vinegar or lemon juice, which can dry out or irritate your skin.
- Eye Protection: Consider wearing safety glasses, particularly when spraying solutions overhead or dealing with potentially splashy messes.
Proper Storage and Labeling
Treating DIY cleaners with the same care as commercial products is essential.
- Use Appropriate Containers: Store your DIY cleaners in clean, sturdy, and clearly labeled containers. Glass spray bottles are ideal for vinegar-based solutions, but ensure they are not left in direct sunlight.
- Label Everything: Clearly label each container with its contents and the date it was made. This prevents accidental misuse and helps you track the freshness of your solutions.
- Keep Out of Reach: Store all cleaning solutions, homemade or commercial, in a secure location away from children and pets.
Patch Testing and Surface Compatibility
Not all surfaces react the same way to cleaning agents.
- Test in an Inconspicuous Area: Before applying any DIY cleaner to a large or visible area, always test it on a small, hidden spot to ensure it doesn't cause discoloration, etching, or damage.
- Avoid on Sensitive Surfaces: Be cautious using acidic cleaners like vinegar or lemon juice on natural stone (marble, granite), unsealed grout, or certain metals, as they can cause etching or corrosion. Baking soda is generally safe, but its abrasive nature should be considered on delicate finishes.
Troubleshooting & Problem Solving with Natural Cleaners
Sometimes, a DIY solution might not work as expected. Here's how to troubleshoot:
Stain Not Fully Removed?
- Repeat the Process: Stubborn stains often require multiple applications.
- Adjust Ingredient Ratios: You might need a stronger paste of baking soda or a more concentrated vinegar solution for tougher jobs.
- Consider a Different Ingredient: If vinegar isn't cutting it, try a baking soda paste, or vice-versa.
- Act Quickly: The longer a stain sits, the harder it is to remove.
Cleaner Not Effective?
- Check Your Ingredients: Ensure you're using fresh, good-quality ingredients. Old baking soda might lose its effectiveness.
- Proper Dilution: Too much dilution can make the cleaner weak, while too little might be unnecessary.
- Surface Compatibility: Are you using the right cleaner for the surface? An acidic cleaner on marble will cause damage, not cleaning.
Unpleasant Odors Persist?
- Thorough Rinsing: Ensure all cleaning residue is removed.
- Deodorizing Boost: Add a few drops of essential oil like tea tree or eucalyptus to your cleaner.
- Ventilation: Continue to ventilate the area well.
Comparison Table: Common Natural Cleaners vs. Commercial Cleaners
| Feature | Natural Cleaners (DIY) | Commercial Cleaners |
|---|---|---|
| Cost | Generally very low (uses common pantry items) | Varies, can be moderate to high |
| Ingredient Control | Full control over ingredients | Often proprietary, less transparency |
| Environmental Impact | Low to moderate (biodegradable, minimal packaging) | Can be high (chemicals, plastic packaging) |
| Health Impact | Generally lower risk, but requires safety awareness | Can pose significant health risks (fumes, skin irritants) |
| Effectiveness | Highly effective for many common tasks | Formulated for specific, often tougher, tasks |
| Safety Risks | Mixing errors, surface damage, skin/eye irritation | Inhalation of fumes, skin burns, accidental ingestion |
| Shelf Life | Shorter, often best used fresh | Longer, designed for extended storage |
| Time Investment | Requires mixing and preparation | Ready to use |
Making Informed Choices for a Healthier Home
Choosing between natural DIY cleaners and commercial products often comes down to a balance of convenience, effectiveness, cost, and personal values regarding health and environmental impact. For many everyday cleaning tasks and common kitchen stains, natural DIY solutions offer a compelling and effective alternative. The key lies in understanding the power of these simple ingredients and, critically, adhering to the safety precautions necessary to prevent accidents and ensure a truly healthy and clean home. By embracing these natural home cleaning hacks and kitchen stain removal techniques with a mindful approach to safety, you can achieve a sparkling clean living space while minimizing your exposure to harsh chemicals and your impact on the environment.